Pick the topic you need help with. Take the steps one at a time. Where it says 'click', on a phone you simply tap with your finger. Every topic has a button to ask us for help. You do not have to manage all of this on your own.
Pick a topic
01
Using email
Version 1
Basic: receiving and replying to email
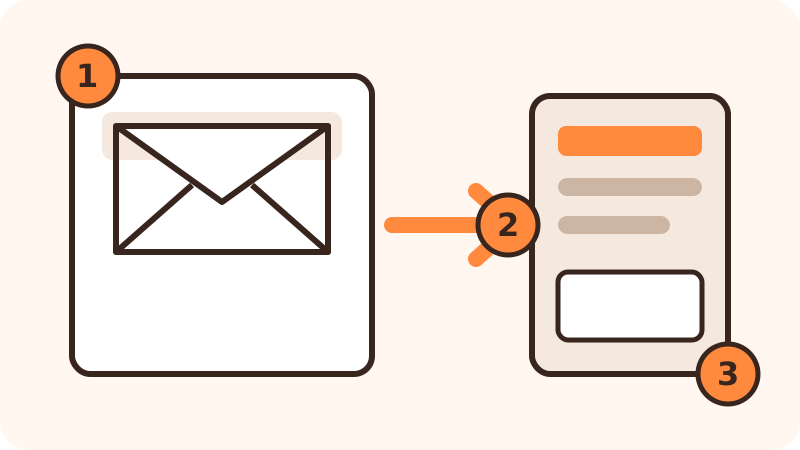
Your website comes with the email address info@ followed by your domain name, for example info@bakerjones.co.uk. With Basic that is a forwarding address: everything anyone sends to info@ lands in the email you already had, such as your Gmail or Outlook.com address. There is no new password and nothing to install.
Steps
1Shortly after handover you will get a message from Cloudflare in your usual email, asking you to confirm your email address. Click the button in that message. Without this confirmation, mail for info@ will not reach you. Cannot see it? Look in the Junk or Spam folder.
2Open your email the way you always do. Nothing changes about how you sign in. The address we forward to is named in the email telling you your website is online. Want a different address? Email us and we will change it.
3Ask someone you know to send an email to info@ followed by your domain name. Check that it arrives. Nothing there? Look in the Junk, Spam or Promotions folder. If it is in there, click 'Not junk' or 'Not spam' so that future messages go straight to your Inbox.
4Click Reply and send a short answer. The other person then sees your own address as the sender, for example your Gmail address. That is normal: Basic can receive on info@ but cannot send from info@. If you want to send from info@, Professional is the package for you.
5Did the test message not arrive, or could you not reply? Email us with: the time the message was sent, the address it came from and the address it went to. Send that from an address that does work.
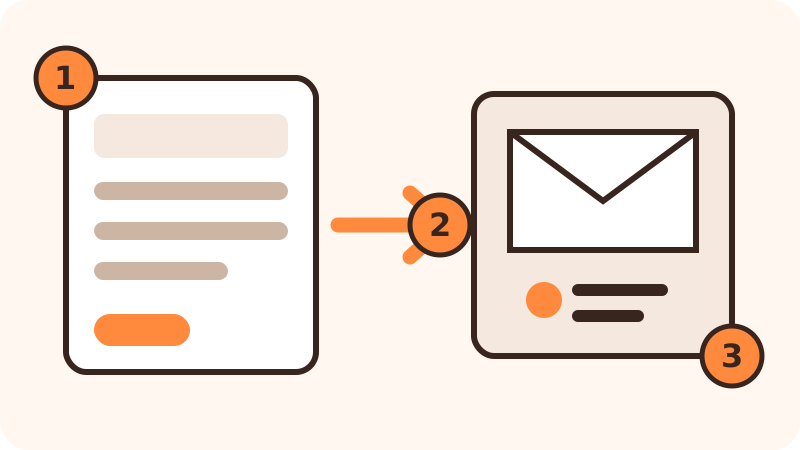
Mail for info@ simply lands in your own email. Confirm Cloudflare's message first.
Professional: using your mailbox
With Professional you have a real mailbox of your own for info@ followed by your domain name. Messages to contact@, offerte@ and factuur@ arrive in the same mailbox. You get the password in a separate email a few minutes after the email telling you your website is online. You can use the mailbox in two ways: the webmail (nothing to install, just sign in) or the email app you already have, such as Mail on your iPhone, Gmail on your Android phone or Outlook on your computer. Pick whichever suits you.
Steps
1Webmail: open your browser (Safari, Chrome or Edge) and type at the top: mail.op-email.eu. Enter your full email address, so info@yourdomain, and underneath the password from the separate email. Save this address as a bookmark. Ask someone you know to send a test message and reply to it.
2Email app: go to Settings (often a cog wheel), pick 'Accounts' and 'Add account'. Do not pick Gmail, Outlook.com or iCloud; pick 'Other' or 'IMAP'. Enter your email address info@ followed by your domain name, and the password. Usually that is all: the app looks up the rest itself. Give it a moment.
3Does the app ask for server details anyway? Enter mail.op-email.eu for both the incoming and the outgoing server. The username is your full email address again, the password the same. The app usually fills in the ports and security itself; leave those as they are. If you have to choose: incoming port 993 and outgoing port 465, both with SSL/TLS.
4Click Save or Done. Send an email from the app to your private address and reply to it. The reply should appear in your Inbox and your own message in Sent. Getting an error about the password or the server? Take a photo of the screen and send it to us.
5You can reply from contact@, offerte@ or factuur@ too. In the webmail, pick the sender address from the 'From' list when writing a message. In Outlook or Apple Mail you type the address into the 'From' field yourself. Using Gmail in your browser? Go to Settings, Accounts and Import, 'Send mail as', and use the server details from step 3.
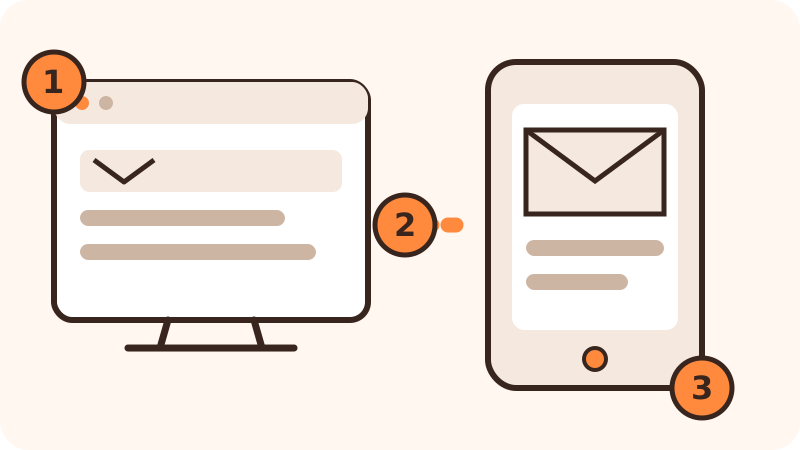
One mailbox, through the webmail or in your own email app. The same address and password everywhere.All topics
02
Staying safe
Version 1
Protecting your account
The biggest risk to your email is a guessed or stolen password. Two things really help: a different password for every service, and an extra check when signing in (a code on your phone). It sounds like a chore, but you only do it once. Do ask for help.
Steps
1Choose a long password you use nowhere else. Easy to remember yet strong: three or four unrelated words in a row, for example 'BikeCoffeeRainbow7'. Do not use your business name, your date of birth or the word 'password'.
2Write the password down and keep it somewhere safe at home, or use a password manager: an app that keeps all your passwords behind one master password. Never give your password out by email, WhatsApp or phone. We will never ask for it either.
3In the settings of your email or Google account, look for 'Two-step verification', '2-Step Verification' or 'MFA'. Switch it on. From then on, a new device needs a code sent to your phone as well as your password. A thief with only your password cannot get in.
4Given 'recovery codes' or 'backup codes' when switching it on? Print them or copy them out and keep them with your other important papers. These codes let you sign in if your phone is lost or broken. Do not keep them in the mailbox itself.
5Received a 'New sign-in' alert you do not recognise? Type the service's web address into your browser yourself (do not click a link in the alert), sign in and change your password straight away. Then email us at once; we will check whether someone has quietly set your mail to forward elsewhere.
One password per service and a code on your phone keep intruders out.
Fake messages and extra email addresses
A fake message (phishing) looks as if it comes from your bank, the tax office, a parcel service or from us. It wants you to click, pay or sign in quickly. Good business owners fall for it too. These steps help you spot one. At the end you will also read what contact@, offerte@ and factuur@ are.
Steps
1Look at the sender's full email address, not just the name. Tap or click the name to reveal the address. 'Barclays <info@barclays-secure-now.com>' is fake; the real bank writes from an address ending in barclays.co.uk. But even an address that looks right can be forged. Doubt alone is reason enough not to click.
2Does a message ask you to sign in, pay something or confirm details? Do not click the link or button in the message. Open your browser and type the web address you know yourself, for example your bank's or mollie.com. If there is no such notice there, the message was fake.
3Received a payment request or a request for details you were not expecting, even one 'from us'? Phone the company on the number you already have or the one on their website. Never call the number in the message itself. Never read out a password or a code you have just received by text.
4With Professional, contact@, offerte@ and factuur@ at your domain name come with info@. They are not separate mailboxes: everything lands in the one info@ mailbox, with the same password. You can reply from those addresses too: in the webmail, pick the sender address from the 'From' list when writing a message. In Outlook or Apple Mail you type the address into the 'From' field yourself. With Basic you only have info@.
5In doubt? Click nothing more and forward the message to us as an attachment. Already clicked a link and entered your password? Change your password immediately by going to the website yourself, and email us straight away. Acting fast limits the damage.
Always type the web address yourself. Do not click a link in an unexpected message.All topics
03
Customer enquiries and website changes
Version 1
Answering quote requests
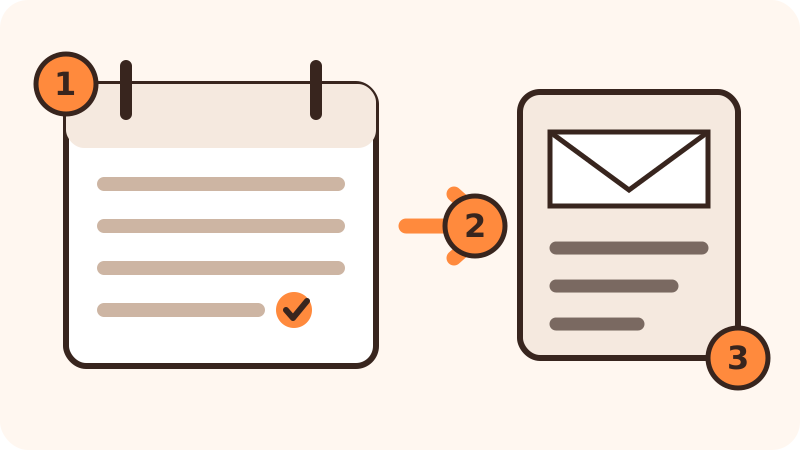
When someone fills in the form on your website, you receive it as an email at info@ followed by your domain name. The message holds the customer's name, phone number or email address, their question and any photos. A request like that is a customer waiting for you. A quick, short reply pays off most.
Steps
1Check your email every working day, including the Junk or Spam folder. Does a customer say they sent a request but you see nothing? Look in Spam first, then let us know, with the day and time of the request.
2Send a short reply straight away, even before you know the price. For example: 'Thank you for your request. I will get back to you by Friday at the latest.' Pick a day you are sure to keep. The customer knows the message arrived and stops looking elsewhere.
3Read the request carefully. Missing something you need to quote, such as measurements, the address or a photo? Ask for just that. Do not ask for details you do not need, such as a date of birth or a copy of an ID.
4Is there an attachment or link you did not expect, or one that looks odd (such as a .zip file or 'invoice.exe')? Do not open it. Phone or email the customer first using the details in the request and ask what it is. Do not put customers' photos on your private WhatsApp or in a private cloud.
5Does it not become a job? Delete the request after a few months; you do not need to keep people's details forever. If it does become a job, the details belong to your bookkeeping. Keep quotes and invoices for seven years; ask your accountant if unsure.
Every request is a waiting customer. Reply the same day, even if only briefly.
Sending in your yearly website changes
You do not edit your website yourself; we do that for you. In the first year that is the correction round right after handover. From your first renewal you have one round of changes each year. Basic: three pieces of text and one photo. Professional: eight pieces of text and three photos. Note: you must send the changes within 30 days of the renewal, or the round lapses for that year. Collect everything and send it in one go.
Steps
1Open your website on your computer or phone and go through every page calmly from top to bottom. Write down what is out of date or should change: a price, opening hours, a phone number, a photo that could be replaced.
2For each change, write down which page and which spot it is, so we do not have to guess. For example: 'Services page, the text under the bathroom photo' or 'Home page, the opening hours at the bottom'.
3Type out the new text in full, exactly as it should appear on the website. So not 'update opening hours', but: 'Replace: Closed on Mondays. With: Open Mondays 9am to 5pm.' We copy your text word for word.
4Want to replace a photo? Attach the original photo file (not a screenshot or a photo from WhatsApp; those are too small). Say which photo on the website it replaces. Only use photos you took yourself or have permission to use.
5Send everything at once through the personal link in the email 'Your yearly update'. Cannot find that email, or does the link not work? Email us the list and the photos and we will help. New pages, a different design or extra features are not part of the yearly round; ask us for a price.
Collect all changes and send them in one go, within 30 days of the renewal.All topics
04
Being found locally
Version 1
Your business on Google and customer reviews
When someone nearby searches for 'plumber Gouda', Google first shows a map with businesses. You want to be on it. A free Google Business Profile does that. You need a Google account (a Gmail address is enough). No profile yet? Start with the Google guide below or ask us for help.
Steps
1Sign in to Google with your business's account. Search Google for your own business name. If you see your business on the right or at the top with the button 'Manage this business' or 'Own this business?', click it. Use an account that stays with the business, not an employee's.
2Check that the business name, the address or service area, the phone number and the website address are exactly as on your website. Small differences, such as 'Street' and 'St.', confuse Google. Correct anything that is wrong.
3Enter your opening hours, plus special hours for public holidays and closures. Click Save. Google sometimes reviews changes first; it can take a few days before you see them. If you are closed and it says 'Open', customers turn up to a locked door.
4After a job, ask happy customers for a review. Just say: 'Would you mind leaving a review on Google? It helps my business.' Do not offer a discount or a gift for it; Google does not allow that. The Google guide below shows how to share a link to your reviews.
5Reply briefly and politely to reviews, including the bad ones: 'Thank you for your feedback, I will be in touch.' Never put a name, address, invoice amount or the details of a complaint in your reply; anyone can read it. Sort a complaint out directly with the customer.
The same details as on your website, correct opening hours and honest reviews.
Checking that Google finds your website
Search Console is a free Google tool that shows whether Google knows your website and whether anything is going wrong. This part is optional and a bit more technical than the rest. Would you rather not do it yourself? Email us and we will sort it. Search Console does not guarantee a high position on Google.
Steps
1Click the Search Console link below and sign in with your business's Google account. Click 'Add property' and choose 'Domain' on the left. Type only your domain name, for example bakerjones.co.uk, so without 'www.' and without 'https://'.
2Google wants proof that the domain name is yours and shows a long code starting with 'google-site-verification='. Copy that code and email it to us. We put it in the right place for you; do not change your domain settings yourself. Once we confirm it is done, click 'Verify' in Search Console.
3Click 'Sitemaps' on the left. In the box, type the full address of your page list: https:// followed by your domain name and /sitemap.xml, for example https://bakerjones.co.uk/sitemap.xml. Click 'Submit'. A sitemap is a list of all your pages so Google misses none. Your website already has it; you only need to register it.
4After a few days your sitemap shows 'Success' with the number of pages found. That means Google has read the list. It then takes days to weeks before your pages actually appear in search results. That is normal; you need do nothing.
5Want to know whether one particular page is known to Google? Paste that page's full address into the search bar at the top of Search Console and press Enter. Getting a message you do not understand? Send us the text or a screenshot. Do not change anything on a hunch.
Prove the domain name is yours, register the page list and wait patiently.All topics
05
Cancelling and moving away
Version 1
Ending your package or moving to another company
You can cancel at any time; your package then runs until the end date we confirm to you. Want to keep your domain name (your web address) and your email address? Say so straight away and we arrange the transfer. Note: taking the domain name with you does not automatically move your website and old email. Your new company has to take care of that.
Steps
1Email support@vbwebsites.nl with your business name and domain name and the sentence that you wish to cancel. Say whether you want to keep the domain name. We send you a confirmation with the end date. Keep it. No confirmation within two working days? Email us again.
2Want to keep the domain name? We then check that you are registered as the owner (the 'domain holder') and tell you which details we still need to release the transfer. Send those only in the way we indicate.
3Find a new company for your website and email before your package ends. Ask them three things: what do they move over, what does it cost, and what do you have to do yourself? Agree that everything is ready before your end date, otherwise your website and email will be unreachable for a while.
4The new company needs a 'transfer code' (also called an authorisation code or token) to take over your domain name. You get that code from us. Give it only to the company you have chosen; with that code someone can take your domain name away. On Professional? First save your old email with the steps below.
5Transfer done? Open your website in your browser and check that it loads normally, without a red warning. Have someone send an email to info@ and reply to it. Something not working? Ask your new company to check it, preferably before your end date with us.
Arrange the new company before the end date and give the transfer code only to them.
Saving your old email before you leave
When you leave Professional, the info@ mailbox closes on the end date and the messages in it are gone. On Basic there is nothing to do: your mail is already in your own email. Being able to see email on your phone is not a copy; when the mailbox disappears, the messages disappear from your phone too. So make a copy before the end date. Never done this? Let your new email company do it, or ask us.
Steps
1Do this on a computer, not a phone. Use an email app such as Outlook, Apple Mail or Thunderbird with your old mailbox added (see 'Email on your phone or computer'). Have your email address and password ready and do not remove the old account yet.
2Decide where the copy goes: either your new mailbox (add it to the same app) or a folder on your computer. In Outlook that is called an 'Outlook Data File' or 'Archive'; in Apple Mail 'Export Mailbox'. Remember where you save the file.
3Drag the Inbox, Sent and your own folders from the old mailbox to the new location. Hold the Ctrl key (Windows) or Option key (Mac) while dragging so that you copy rather than move. Wait until the app has finished; with a lot of email this can take an hour.
4In the new location, open a few old and a few recent messages, including one with an attachment, and check that they open. Compare the number of messages per folder with the old mailbox. Something missing? Copy that folder again and leave the old mailbox open.
5Make one more copy of the archive file on a USB stick or external drive. Remove the old mailbox from your app only once you are sure the copies work. Do not keep email with customer details longer than needed; do keep invoices and quotes for seven years.
Copy first, then check, and only then let go of the old mailbox.All topics